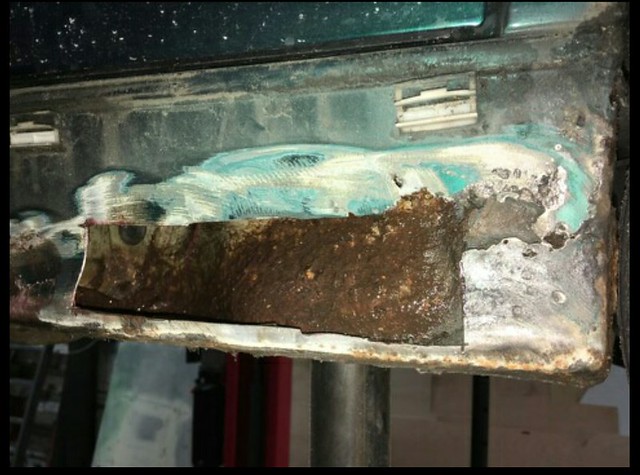
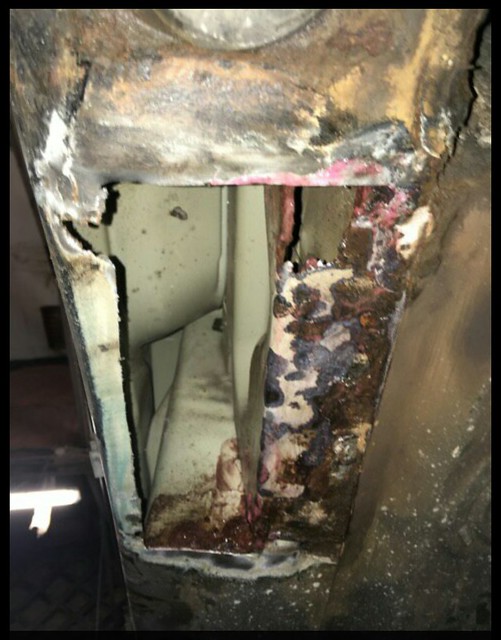
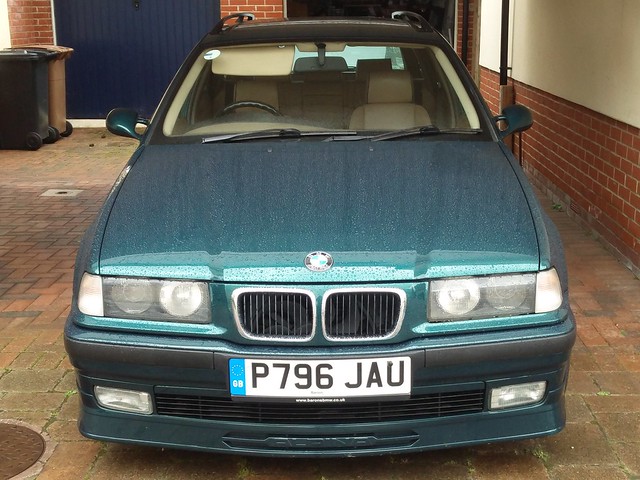
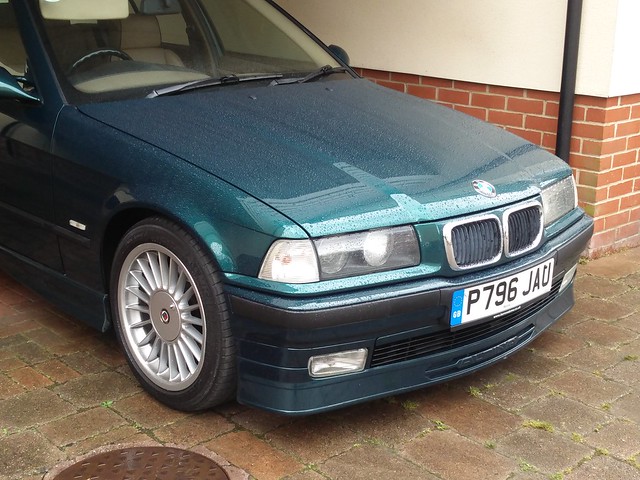
One thing i forgot to add at the beginning of my ownership was the car had to have some extensive welding done on the sill area, due to a hole that appeared in the wheel arch.
Here's how big the repair was:
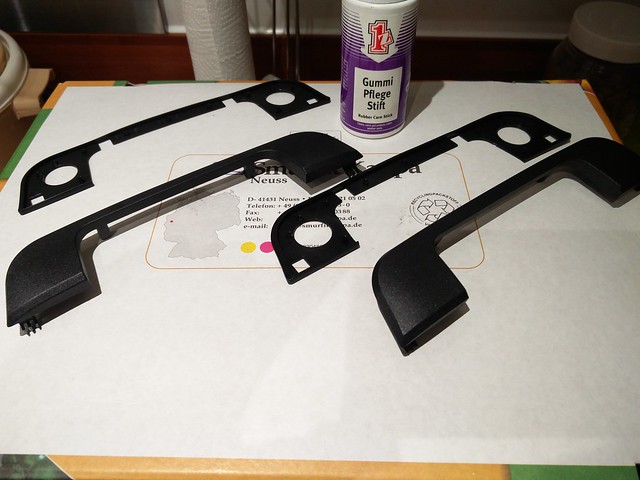
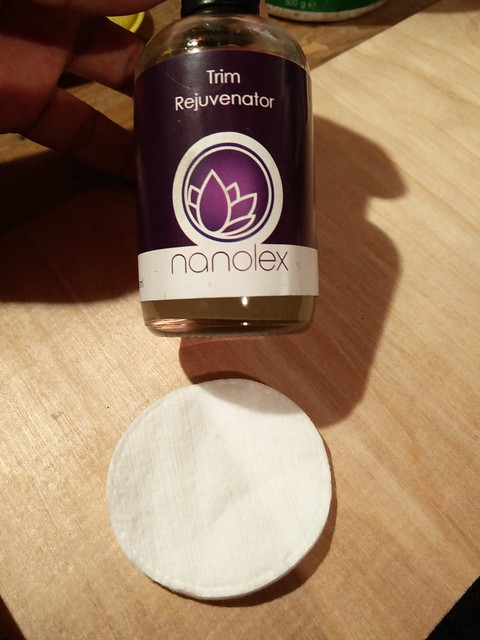
So on to the prep for the weekends activities, the door handles arrived, so they were treated from new to rubber feed and Nanolex trim restorer.
50:50
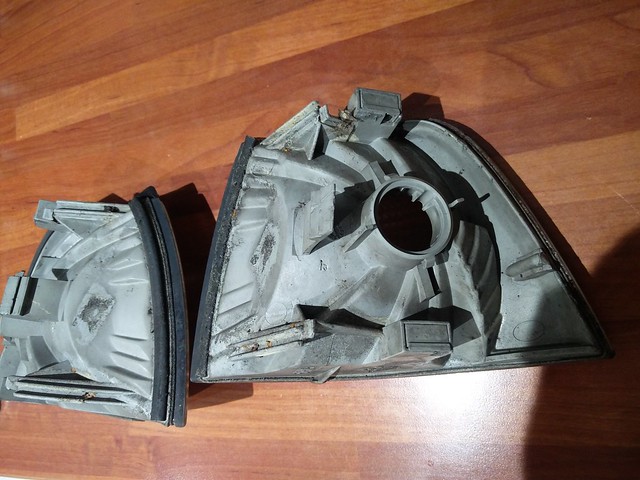
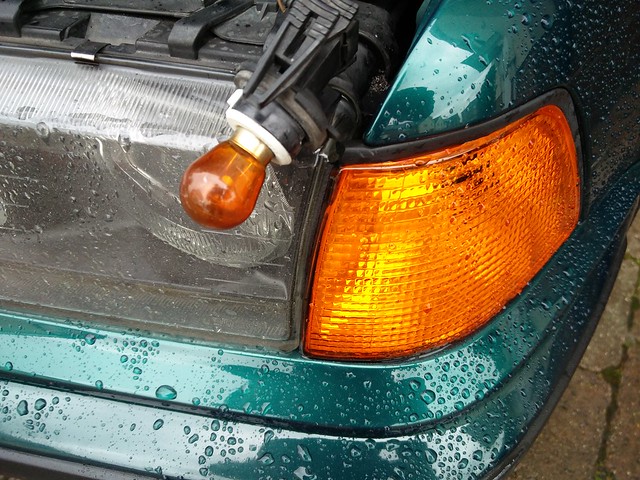
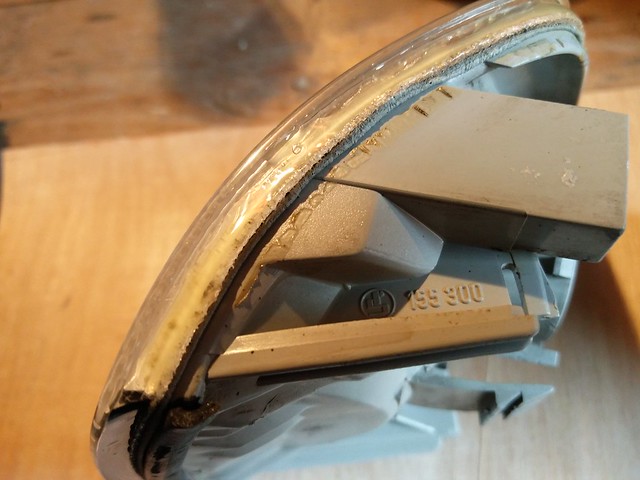
The clear indicators arrived, but typically nothing is simple. One of them was missing the seal.
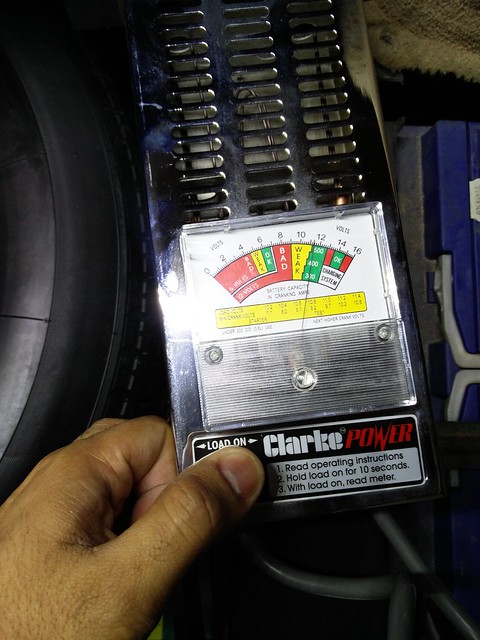
The car appeared to have a slow discharge fault. Not sure how, but the CTek comfort indicator kept showing green, then yellow, and occasionally red, then back to yellow again and general haphazardness. This said to me that there was a fault on the battery, so it needed checking. Also, in Simon's history, he shows two battery changes, so it sounded like its a long standing issue. So firstly i checked out the battery condition.
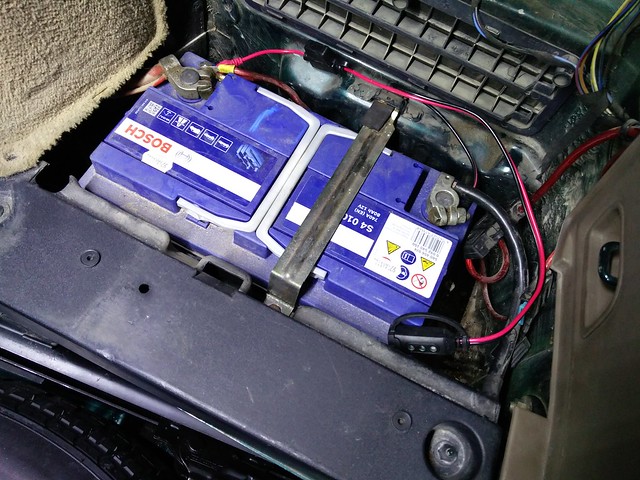
Battery health showed OK.
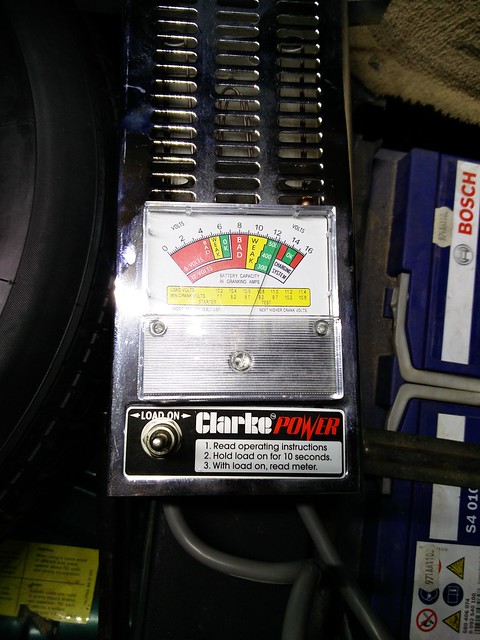
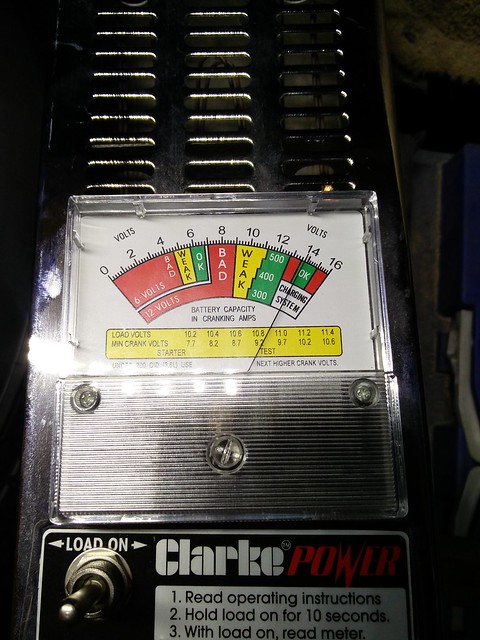
On load, showed OK too:
Started the car and the alternator shows healthy too:
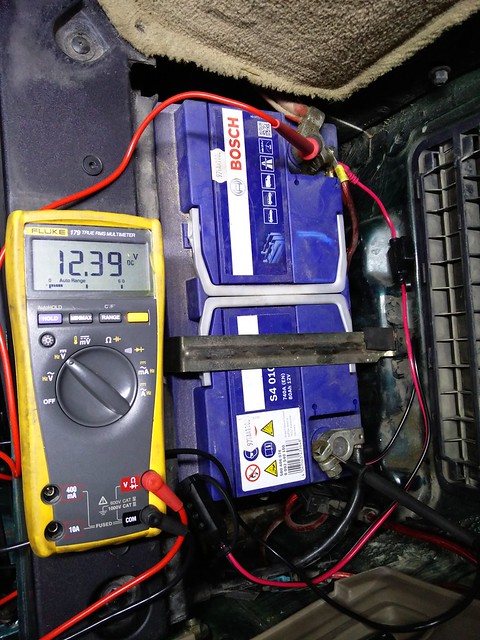
Earth leakage check. Check base voltage:
Base current draw in series for the Earth:
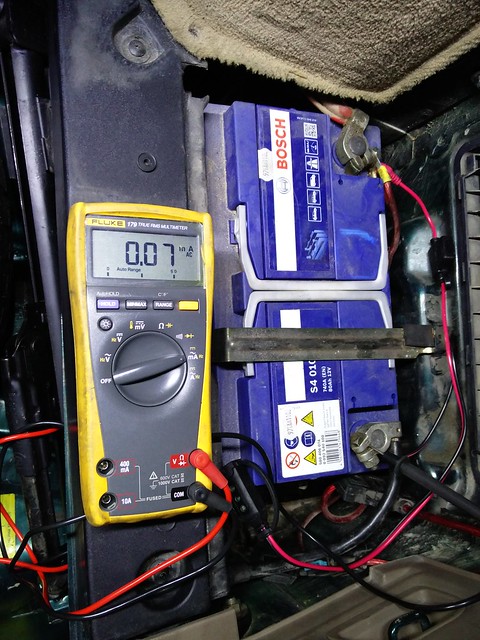
Base current draw across the meter:
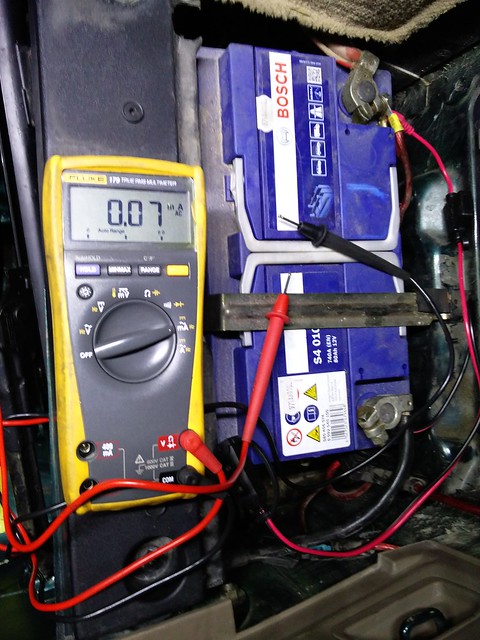
So no draw at all from the car. Not sure where to go next, suspect the comfort indicator is a bit sensitive. Just to be sure, when i i take the battery out, i will manually dump the acid, and fill with distilled water then recondition. That should sort any battery issues.
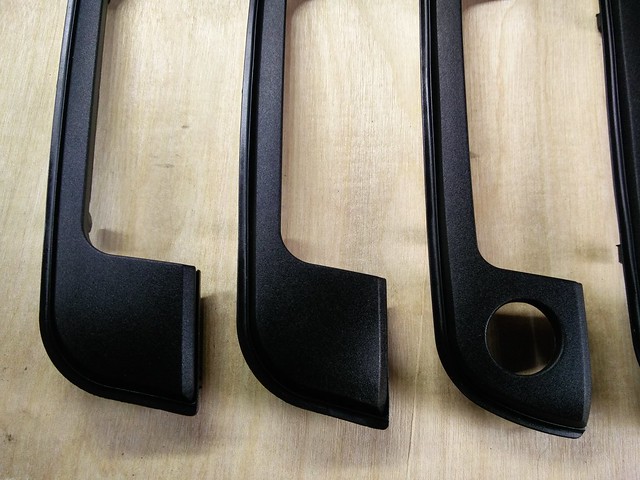
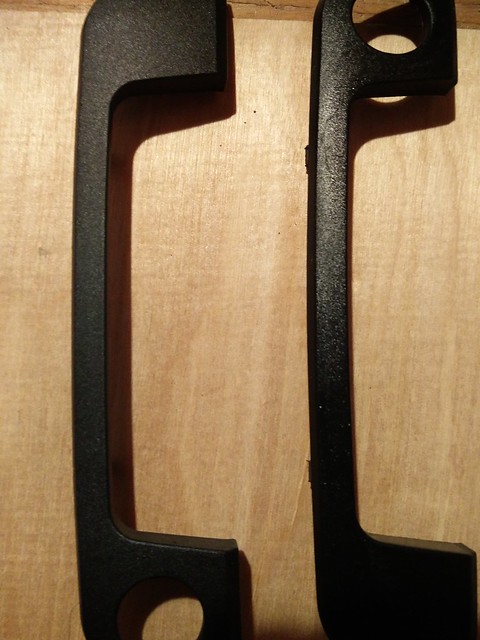
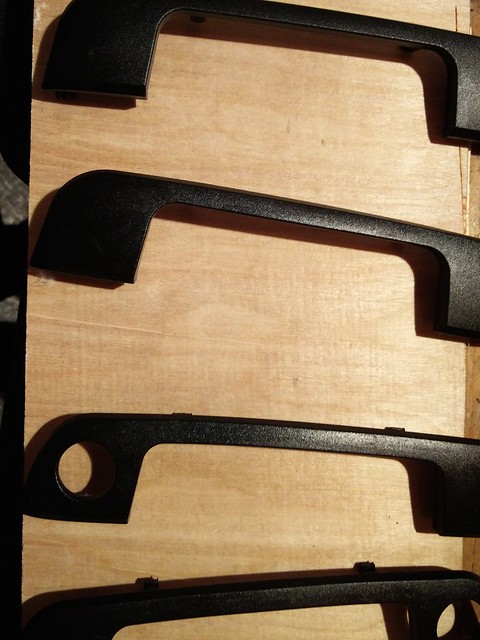
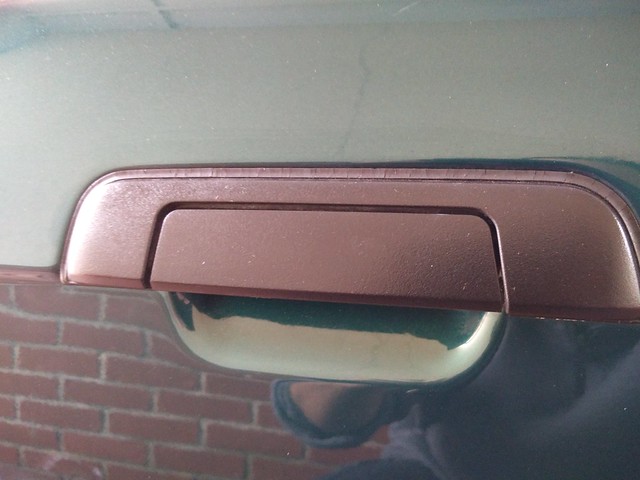
So the handles are ready for fitting:
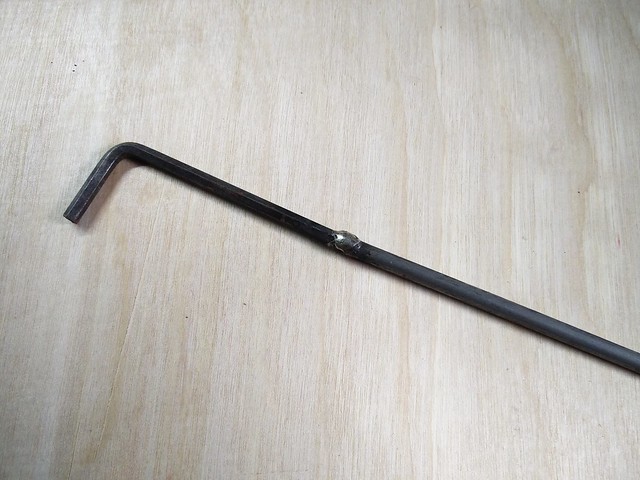
Purpose made tool! Had this for years, was made for adjusting tension on a Peugeot 106 Rallye timing belt, but has turned out to be useful for many different purposes:
Whilst i was taking the handle covers off, all was cleaned behind and the handles were treated to nanolex.
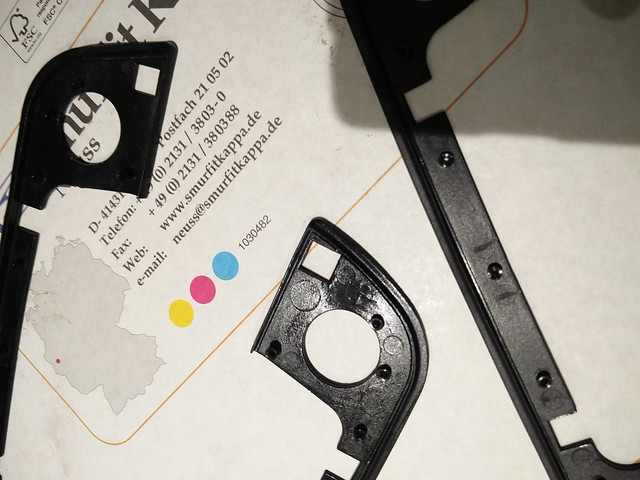
All fitted, but i am not happy. They are original surplus parts, but they don't fit!
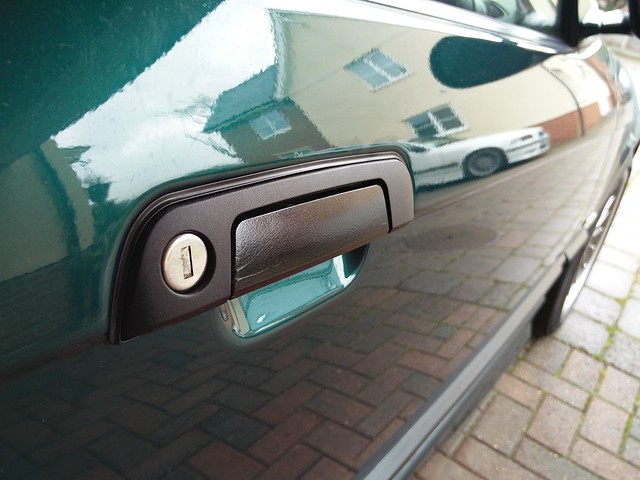
Here's the misfitting bits:
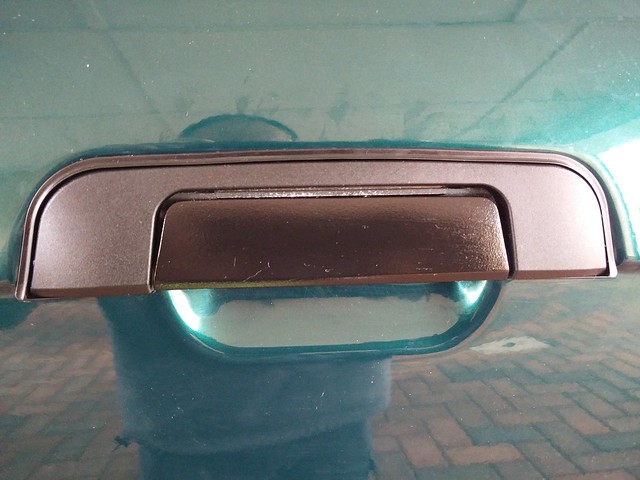
What it should look like for comparison:
Not good!! Will be speaking to the seller and getting somewhere, for sure!
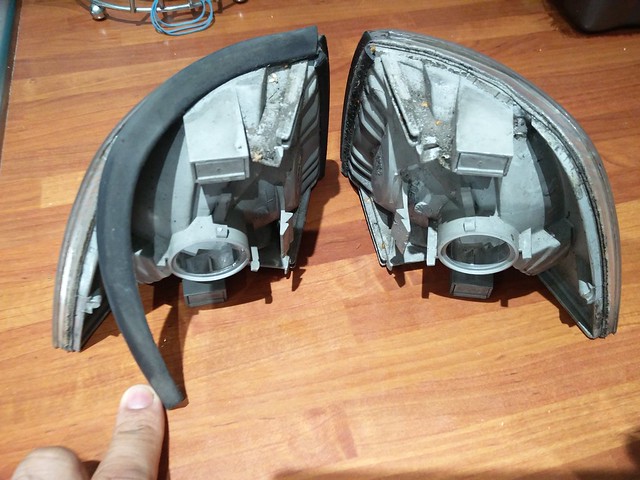
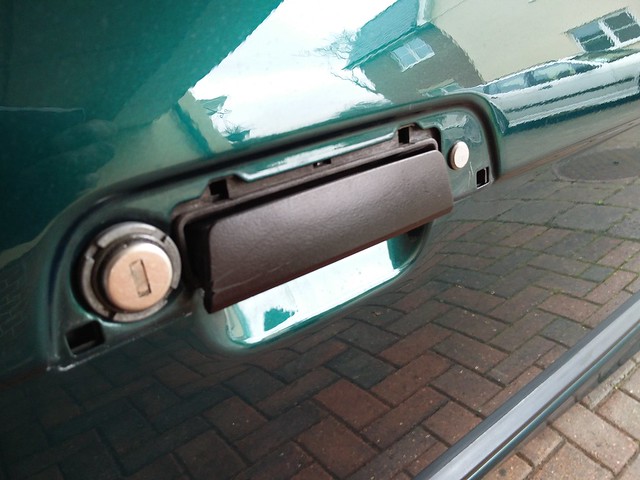
So swapping the ambers for clear. Everyone has an easy job that they are useless at, for me its, removing E36 indicators. I always end up snapping the locking tabs off and rendering the light useless. Anyway, after 20 mins of trying, i removed the bulb to get more purchase to push the unit out and found this. Beggars belief!!!
The old glue was removed from the clears, and the seals stripped off the ambers to get the clears on.
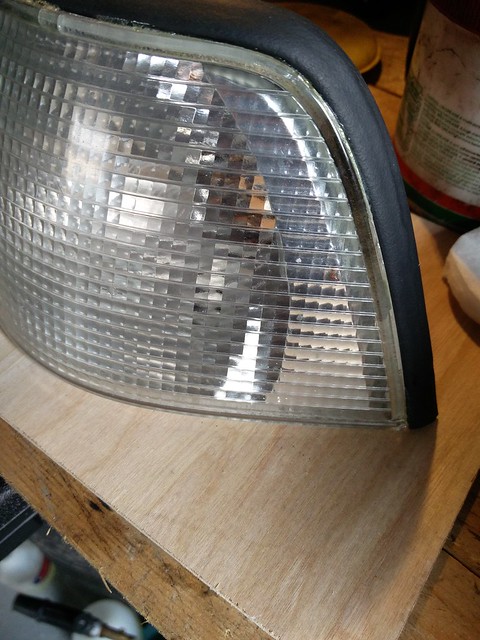
They are a bit thinker than OEM, but they will have to do for now. Shame they were ruined when removed.
The ambers were some cheap shit, so no wonder it took me ages to get them off. Notice the 'OEM' made in Taiwan sticker:

I treated the door trims with nanolex as the door handles were showing them up. 50:50:
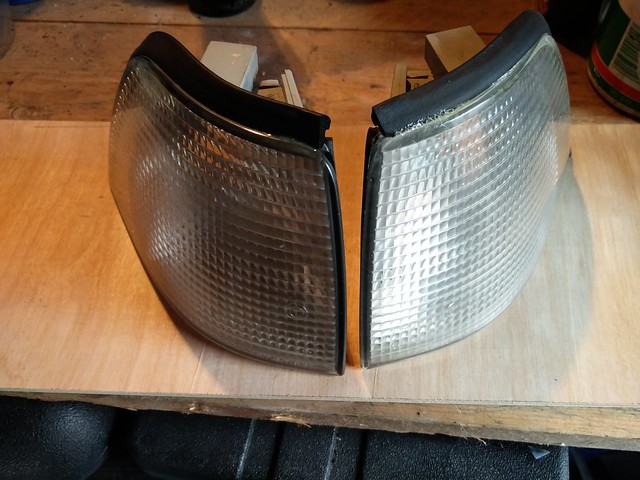
Clears refitted, relief!
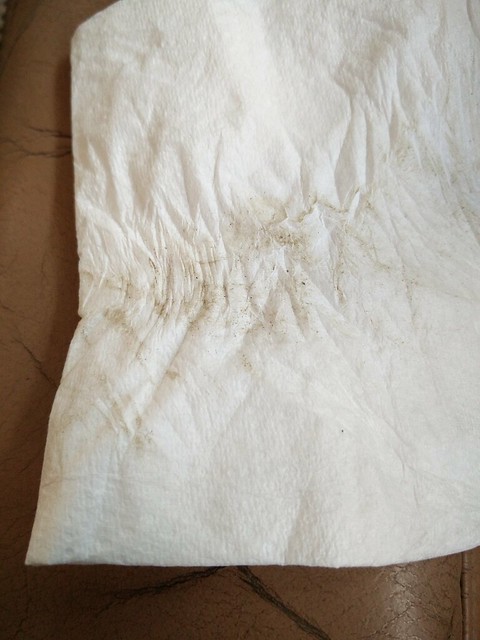
I tried to clean up the drivers seat thinking there was dirt in it, but its actually worn through the paint.
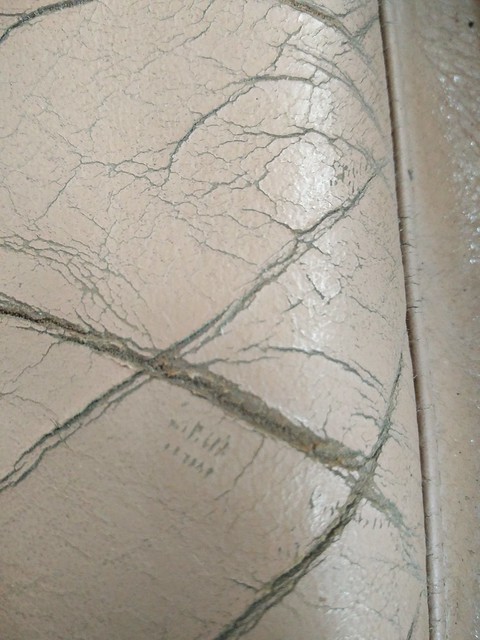
Will need to get some leather filler and spray to restore it.
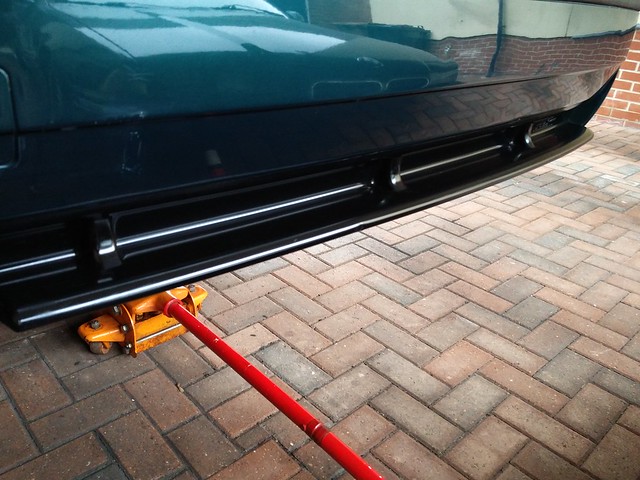
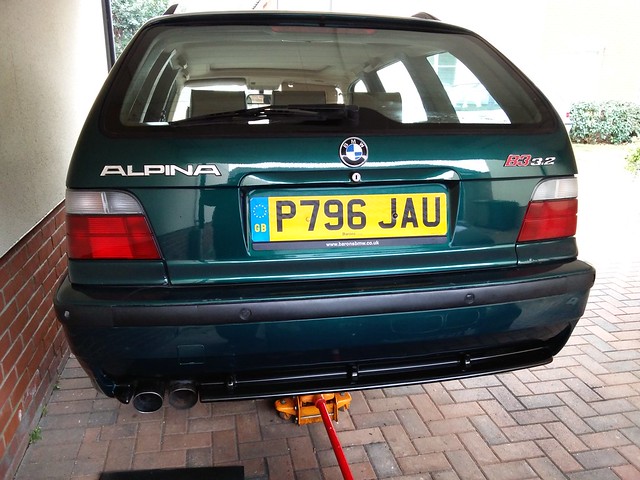
Exhaust was hanging down a bit, there is a HUGE speed bump at work, one that the whole car can sit on, and the exhaust would just tough it, so it needs sorting. The previous owner told me that the rubber was broken and supplied a new one, but its the wrong one. Anyway, it will do to stop the exhaust getting damaged.
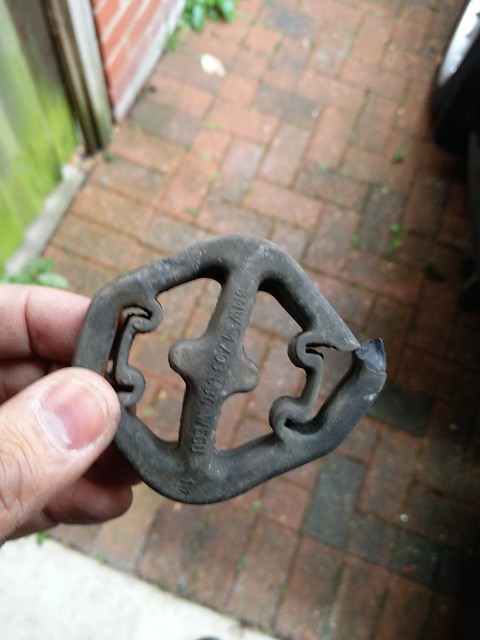
Here's the broken one. I hate these profiled rubbers, so hard to fit.
The exhaust hanger fixed:

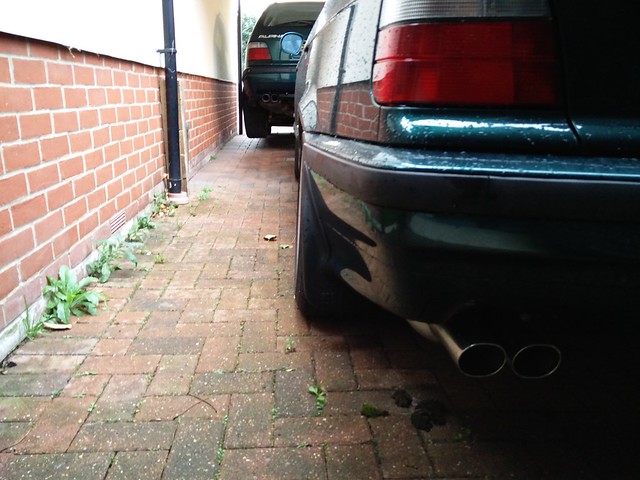
So i thought i would sort the exhaust pipes a bit, but the sport bumper trim let down the back, so i cleaned it thoroughly then IPA wiped it, let it dry, buffed it and then applied the nanolex. Looks amazing!
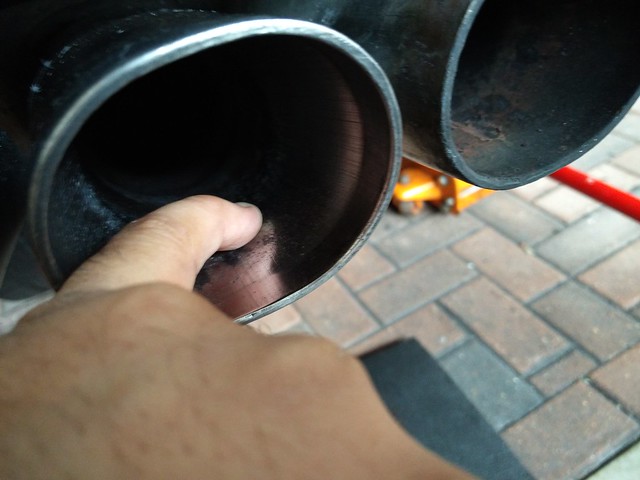
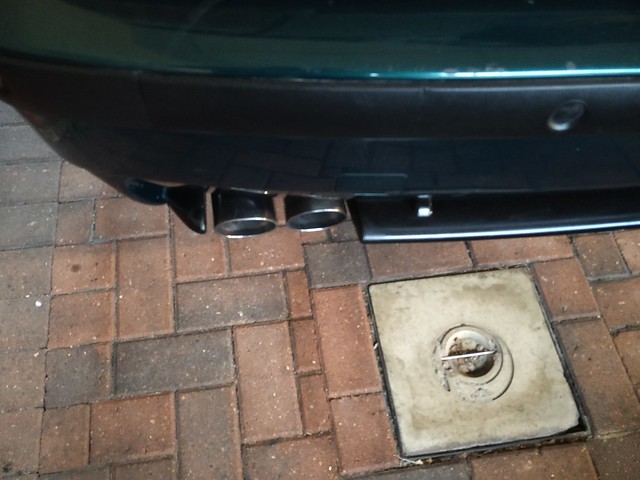
Even though i cleaned one pipe last weekend, it still looks poor. Under the pipe looks like this:
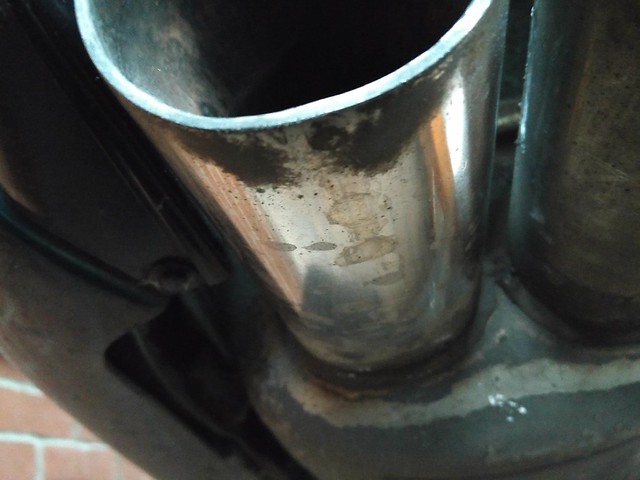
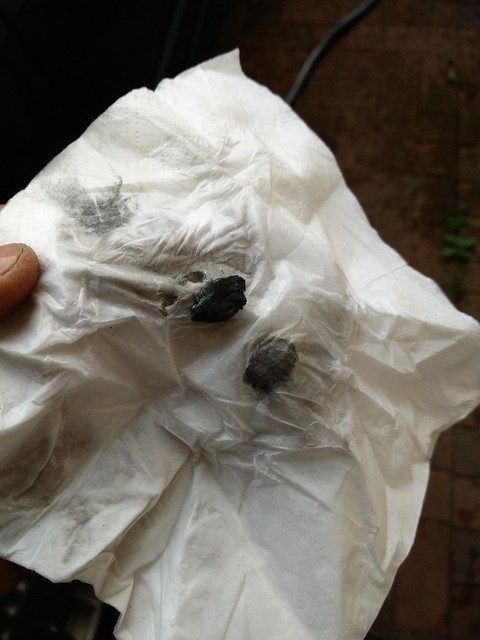
I tried all sorts but it wasn't getting better. Then i looked in and saw loads of what looked like carbon. So i went to it with a screwdriver. It all started coming off, then i polished it with emery cloth and it got polished, but still looked poor.
Can see how polished it is by the reflection of my finger:
How it looked with one pipe clean and one dark:
So here is the process on the other pipe. Scraping off all the carbon with the screwdriver:
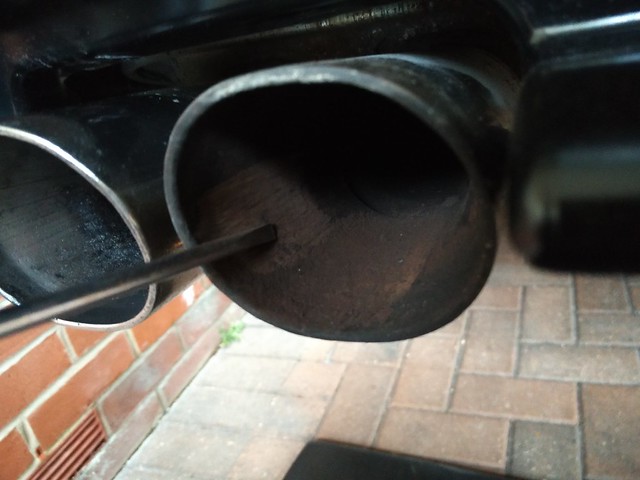
Looks like quite a blow pipe in this shot!
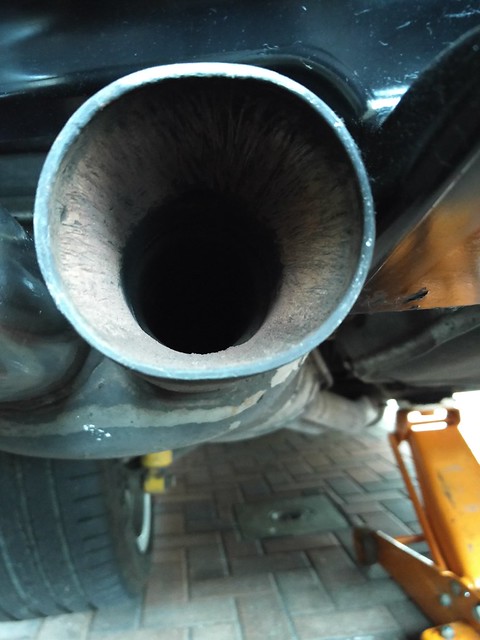
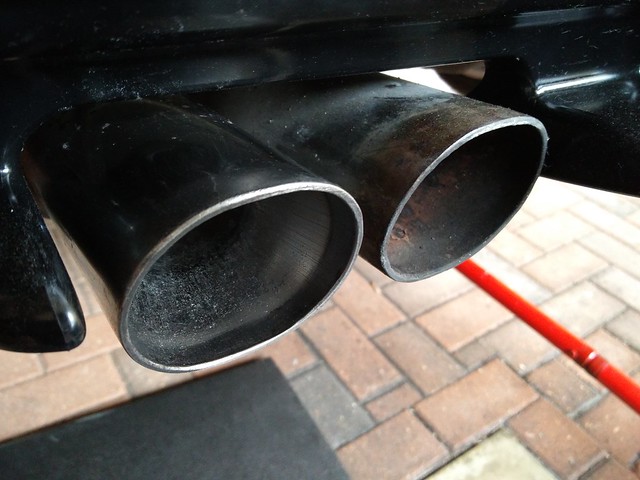
The comparison of 20 vs 36:
Here is the pipe finished. Still doesn't look like no.20's. I think this pipe might be past it. I will pursue with cleaning over time, to see if it improves:
Degreased the engine bay with AF Citrus Power. Cleaned it up a whole lot more:

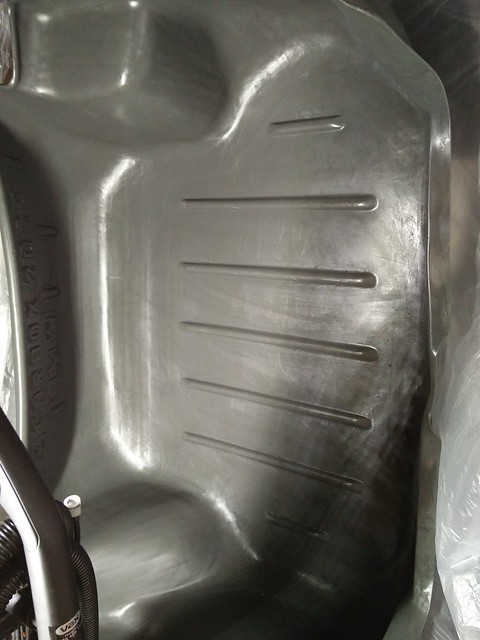
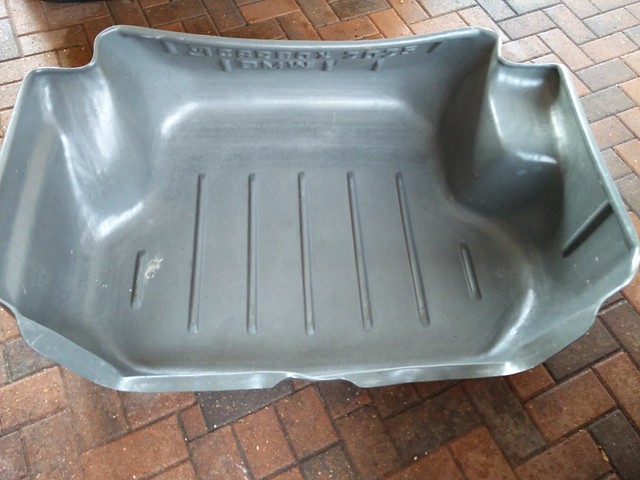
I want to use the boot liner, but it was filthy. After cleaning the boot, there was no way that the liner was going back in the way it was. So onto the cleaning. Before:
APC'd:
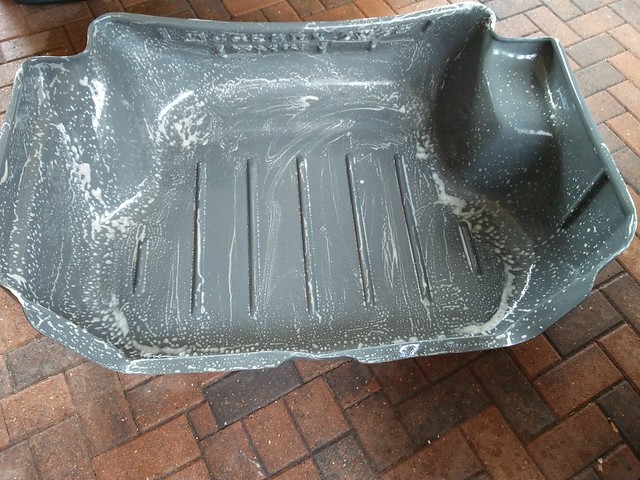
Remember the black putty stuff that was on the carpet? The matching stuff was on the boot liner. So out came the Tardis and the putty removed:
All APC'd, Tardis'd and Citrus Power'd to leave a clean liner: